Are you a log splitter user facing the issue where the auto return keeps stopping, and you don’t know how to fix it? If yes, then you are in the right place at the right time.
Fixing log splitter when auto return keeps stopping is actually effortless and can be done by adjusting the auto-return detent. All you’ll need to do is remove the detent cover, access the detent assembly, tighten the adjustment bolt or loosen it, replace the detent cover, and the problem will be resolved.
In this article, you will get to know all about auto-return detent, how to fix log splitter when auto return keeps stopping, what does an auto-return detent do, how to adjust auto-return detent, and more. Stick around to get all the answers that you are looking for.
What is the auto-return detent functionality?
Many log splitters come with a main cylinder control valve that has an auto-return detent. With that feature, once you move the log splitter’s control lever to the return position, you’ll be able to remove your head from the lever and the cylinder will continue moving until it fully retracts. Once the cylinder has fully retracted, the valve control automatically pops into the neutral position.
The detent on a valve controls automatic return features. For instance, your log splitter will allow for the auto return of the hydraulic piston. This will allow you to get the next wooden log to be split ready while the piston has returned to the start position. If the auto-return detent isn’t working properly, you’ll need to hold the control lever in the return position until the cylinder gets back to the start position. This is very inconvenient, and you’ll be able to double the time that it takes to split wood if you are working alone.
How to fix log splitter when auto return keeps stopping
One of the best ways to fix log splitter when auto return keeps stopping would be by adjusting the auto-return detent. Here are the steps to adjust the auto-return detent –
- For adjusting the detent, you’ll need to remove the detent cover, which will be held in place by two hex bolts.
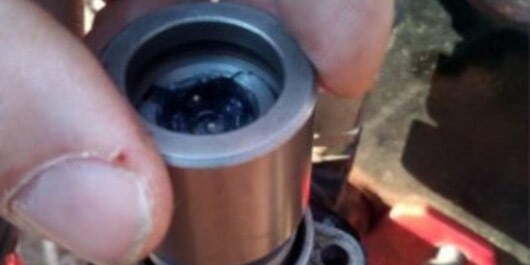
- Once the detent cover has been removed, you can access the detent assembly. At the top of the assembly, you’ll come across the slotted cylinder, which is the adjustment bolt for the detent.
- Once you tighten this bolt, the auto-return detent would hold the control valve lever in the return position much more tightly. Once you’ve loosened this bolt, the detent will hold the lever in position less tightly until it cannot hold it at all.
- If your control lever isn’t able to hold the automatic return position nine out of ten times, you’ll just have to snug this bolt down with a couple of 1/4 turns.
- Replace the detent cover and then give it a try. You’ll have more than likely fixed everything by this point.
- If tightening the bolt doesn’t resolve the issue, you will have to replace the auto-return detent and auto-return detent cover.
How to replace the auto-return detent
Another way to resolve this issue is by adjusting the auto-return detent. Start by removing the detent cover. After that, you should unscrew the adjustment bolt all the way, as it’ll remove the detent assembly from the hydraulic control valve. Once the new detent arrives, it’ll get shipped with the detent assembly already assembled and installed inside the new detent cover. The detent assembly would need to be removed from the detent cover.
You must do this carefully. When you’re sliding the detent assembly out of the detent cover, you shouldn’t allow the assembly to come apart. There are small bearings in the detent assembly, held in place by the detent sleeve. Remember not to allow this sleeve to slide up and out of place.
Thread and detent into the base threads in the control valve. Tighten it down manually, ensuring that you don’t allow the threads to be crossed. Once it is in place, you should snug down the assembly via a large slotted screwdriver.
Now, it’ll be time to screw on the new detent cover and then try it. You might have to tighten down the slotted sleeve more if that isn’t holding the control lever into the return position.
How to increase the auto-return pressure adjustment
When the control lever gets moved to the retracted position, it can be easily released, and it’ll stay that way until the wedge has fully retracted. Once fully retracted, the pressure in the valve will build quickly and reach the set point of the auto-return adjustment. After that, the control lever will automatically shift to the neutral position.

If the wedge stops before it’s retracted fully, the auto-return adjustment has been set too low. You’ll need to follow these steps to increase the auto-return pressure adjustment.
- Unscrew the plastic cap from the end of the control valve using your hand (the cap will be sitting on top of the control valve)
- You need to insert an allen wrench (hex key) into the recess of the threaded shaft
- Make use of a wrench to break loose the nut (by turning it counter-clockwise)
- Now, tighten the threaded shaft 1/4 turn (clockwise) for increasing the auto-return pressure
- Lastly, hold the threaded shaft in place such that it doesn’t turn and then tighten it to lock it in position
To decrease the auto-return pressure, you will have to follow the same steps, except turn the shaft ¼ counter-clockwise.
Other common log splitter problems and what to do
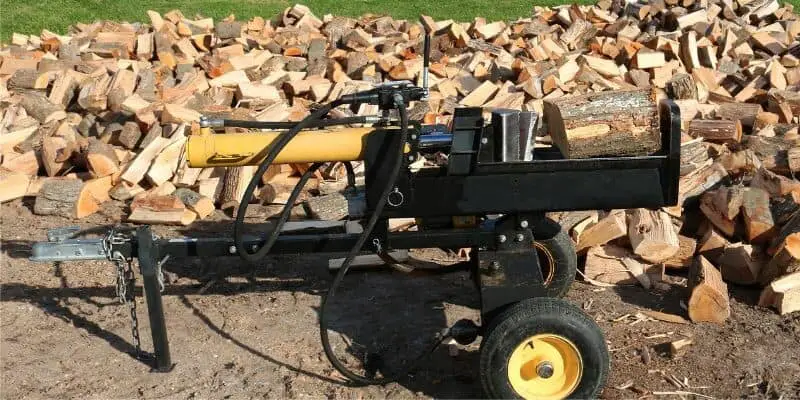
Issues are quite common in log splitters, and they are easy to pinpoint. Hydraulic log splitters make use of pressurized fluid for powering a force. In log splitters, the engine pressurized fluid powers the driving force behind the wedge for splitting the wood. If your log splitter is bogging down under pressure, or it seems weak, chances are that there’s something that isn’t right with how the system is operating regarding the size of the hydraulic pump. Here are a few common issues that log splitter users experience –
Wedge will not cut
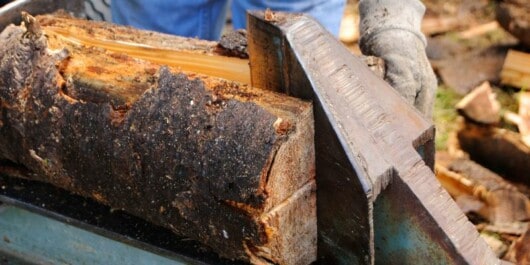
If everything seems like it is working as it should, but the wooden log isn’t splitting, first, ensure that the log is loaded properly, and it isn’t at an angle or is too long. In case it is in order, you should have a look at the wedge itself. With heavy use, wedges can easily become blunt and stop cutting as expected. This is especially true if you’re using it on green or knotty logs. Wedges are pretty easy to remove and sharpen if you want to get them back in working order.
Shaking or vibration
If you experience shaking or vibration during operation, chances are that you’ve got a low hydraulic oil level. You must check the oil level and then top it off if needed. In case the levels are correct, you might have air in the lines. For resolving this issue, open the bleed valve and then cycle the pressure plate back and forth multiple times. You should remember to recheck your oil levels after doing so and re-tighten the bleed valve.
Loss of driving force
If you’re losing driving force and the pressure plate is moving slowly, you might have air in the lines. Check the lines and seals for potential leaks and wear, which are bound to happen over time, and replace them as needed.
Moreover, you should consider the temperature, as oil becomes slightly more viscous in cold weather. This results in a sluggish, weak response as the log splitter warms up. If you’ve ruled out low oil levels and pressure, it isn’t cold outside, and you’re certain that you don’t require leaking, it will likely require a piston replacement.
It will be smart to keep the filters clean as well as a part of the regular maintenance. Clogged filters keep the oil from moving through the system as expected, which creates a drop in pressure.

Ram will not return
If the Ram has extended and isn’t retracting, the nut might have come off the piston and the pressure might have pushed it forward. With the engine off, you will need to open the valve and then push it back using a narrow rod. You might have to bring it in to replace the nut, and the loose nut should be removed before using it again to avoid damaging the log splitter.
FAQs
How to remove the air trapped in a hydraulic log splitter
Vent valves are usually used in areas where you need to remove larger amounts of trapped air. The vent valve and air bleed orifice will improve the log splitter’s performance by offering efficient and controlled power to do the task while minimizing the energy used.
What RPM should your log splitter run at?
The speed of splitting in a log splitter needs to be in the range of 400-600 RPM. Higher rotations than recommended can cause the bit tip to overheat, which might lead to hardening and damage.
How often should oil be changed in your log splitter
Many log splitter manufacturers recommend that you should change the oil after every 50 hours. In case the fluid is of high quality, this will give you around 150 hours of log splitting.


